It’s hard not to feel a little bittersweet as the season I rediscovered golf comes to a close, but maybe it’s a blessing in disguise.
Most of us understand how difficult it is to incorporate swing changes while regularly playing golf. Progress in this game isn’t exactly linear, and the temptation to revert to the many compensations and band-aids we’ve instinctually created is often too strong to resist. So, that’s what we do. We give up on the new grip a hole at a time until we ditch it altogether. We let the backswing go as far across the line as it wants to. We aim a little further right and play the hook.
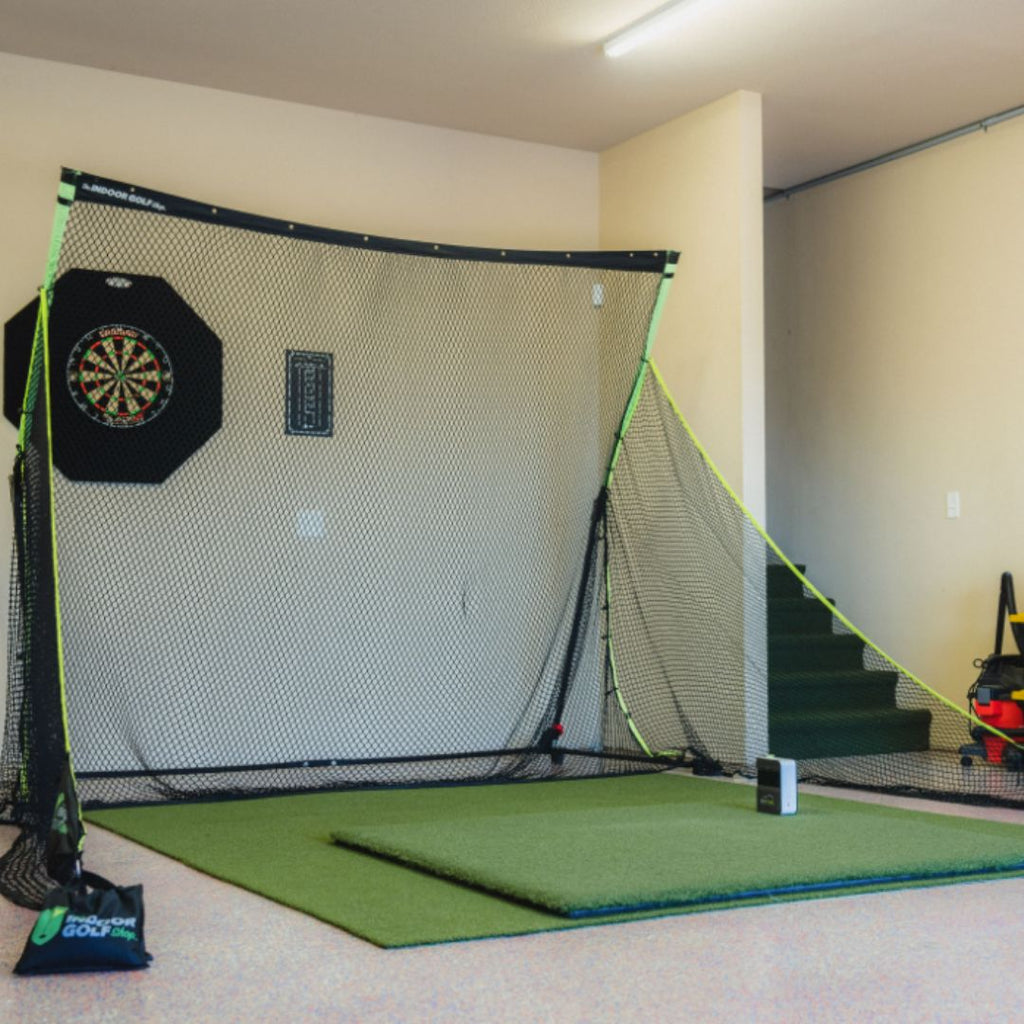
The beauty hidden behind the general ugliness of winter is that it gives many of us time to work on our games without the distractions and expectations a round of golf presents. Even better, technology now allows us the freedom to do most, if not all, of this work at home. While we have always been able to hit balls into a net, we now have the ability to see the result of each swing in real time thanks to launch monitors and simulators.
While it’s most often discussed in relation to golfers in colder climates, indoor practice can benefit players everywhere at any time. The easiest way to learn any new skill is repetition, and both the time and cost related to driving range practice can make it unreasonable to commit to more than a couple times a week. Like working out at home, stepping into the garage for a quick thirty-minute practice session offers a completely different level of convenience that makes commitment to regular practice more realistic.
So, as the golf season ends, the process of rebuilding my golf swing begins with an indoor golf setup.
Where to Begin?
With the almost stupefying number of products available, building an indoor practice area was looking like a daunting task. After paralyzing myself on Amazon, I realized I needed help and reached out to Ricky at the Indoor Golf Shop with the hopes that he could guide me through the process. After a couple conversations and emails, we narrowed down a setup that worked for me.
Golf is an expensive hobby and an indoor golf setup has the potential to really push the limits of a person’s budget. A full simulator studio could easily approach the cost of a small car. However, there are options that are not only more affordable, but still offer an amazing amount of capability when it comes to safely and accurately tracking swings.
My budget for this project was to keep the price of my indoor range similar to or less than a year’s golf membership dues. While that’s still a considerable amount of money, I kept in mind that this setup was designed to last for years of use.
Space Considerations
Outside of budget, space is probably the biggest influencer in choosing the components of an indoor practice setup. Golf swings occupy a large, three-dimensional space and both golf clubs and balls can inflict a great deal of damage to anything they come in contact with. Therefore, finding an area with enough ceiling height and floor space is critical. Ricky recommended a ceiling height of at least 10 feet, though there are people that avoid using long clubs with slightly shorter ceiling heights. Room dimension requirements vary on the setup. A 13’ by 18’ space can accommodate almost any full-scale simulator with a projector and screen. On the other end of the spectrum, people utilizing a smaller net and mobile device or TV screen can get away with a space as small as 8’ by 8’, depending on which launch monitor they choose.
While some are fortunate enough to be able to use a room in the house for an indoor range, most golfers will likely need to use a garage, as garages tend to have higher ceilings and offer easier access to space that can be freed up. There are special issues to consider there as well. I admit to accidentally destroying a garage door opener in the past, so I recommend carefully surveying the space to stay clear of yours or investing in a wall-mount opener.
I chose to measure and diagram my space and then sent the drawing to Ricky so he could provide the best possible recommendation. This was well worth the time, as it left nothing to chance.
Nets, Mats, and Safety
In addition to the safety considerations related to room size and shape, there are other factors to consider to ensure your indoor golfing experience is a safe one.
Golf balls flying 150mph are incredibly destructive, so ensuring you have a reliable way to keep them contained is critical. To accomplish this, there are many golf-specific nets on the market in a variety of sizes and prices. I’ve used some of the popular low-cost options in the past with varying levels of success. While it is tempting to look for the cheapest option here, durability, function, and versatility can suffer.
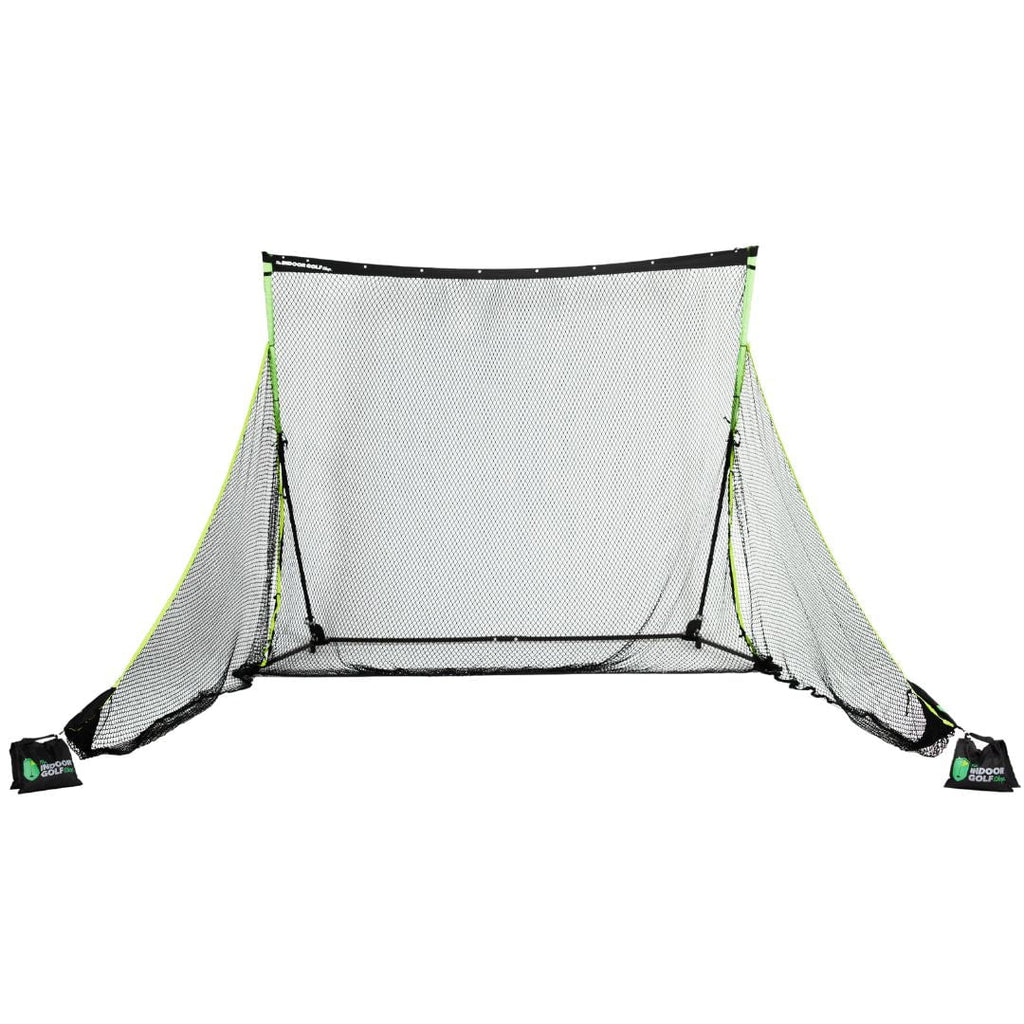
Ricky recommended the newly released SIGPRO Golf Net. At 7’ 7” tall and 9’ wide, it sits on the premium end of the market and features heavy-grade materials and construction. Instead of using glorified tent stakes for a frame, the SIGPRO is all metal and clicks easily into place. The net itself attaches to the frame with side channels that are made of heavy, copiously stitched material, preventing the frustrating tears cheaper options are prone to. In addition, it includes side-barriers that attach via bungee balls to help contain balls hit, shall we say, less than straight. One of the more attractive features of the SIGPRO net is that it has an option to add an impact screen later, leaving open the possibility of upgrading one’s setup into a full-feature, projector-based simulator in the future.
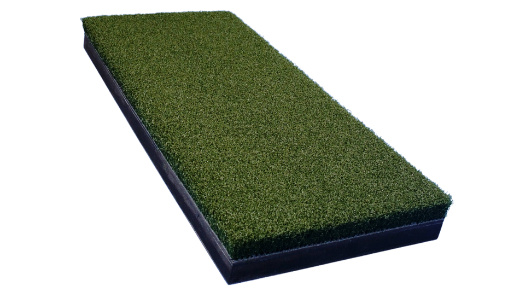
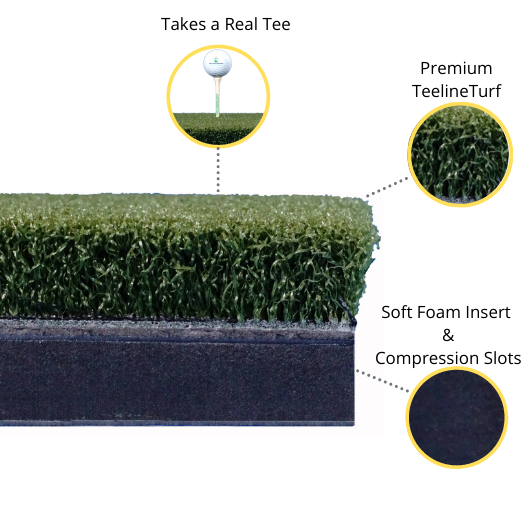
Though each piece of an indoor setup is important, choosing the right mat may be most critical to a person’s long-term health. The golf swing is a major culprit in chronic injuries, especially in the joints of the hands, wrists, and elbows. Unfortunately, hitting the ball off artificial surfaces can exacerbate these issues, so I highly recommend investing as much of one’s budget as possible into a quality mat. After communicating some of my already lingering elbow and wrist issues with Ricky, he recommended the SIGPRO Softy, which we previously discussed on THP here. With an inch of turf sitting on top of a thick layer of foam and a polyurethane, it almost feels like I am standing on a firm mattress. The replaceable hitting section also has compression slots at the bottom, which allow air to escape when the club impacts the hitting surface. All these things, coupled with a grass material designed to avoid grabbing the club, make for a premium experience that feels like it will impart the least amount of damage to my body. In addition, the hitting surface is designed to provide the most realistic launch conditions possible, as some mats can greatly impact launch angle and spin.
Launch Monitors
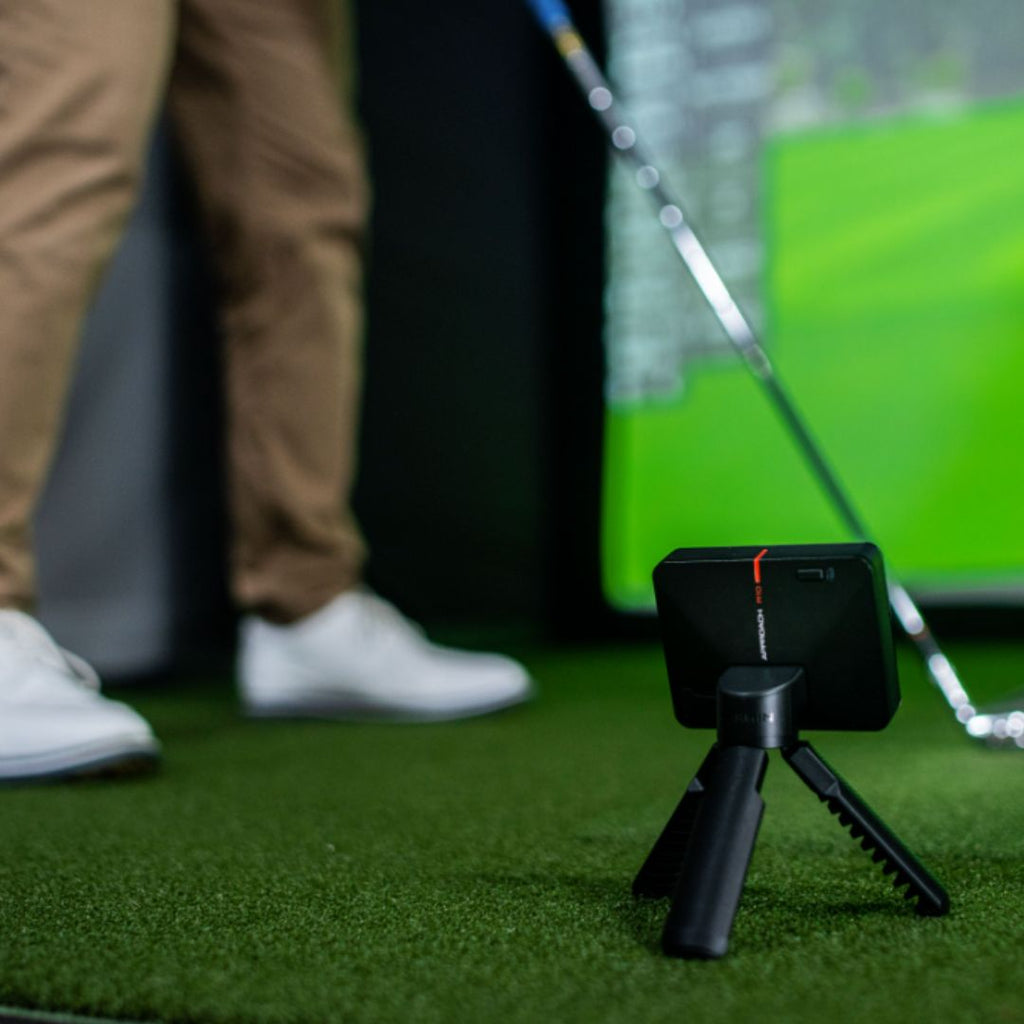
Personal launch monitors continue to offer more accuracy and better price points every year. The idea of a person having a launch monitor to use at home was almost unheard of ten years ago, but today there are exceptional offerings at almost every price point. Choosing a launch monitor or simulator can be difficult, but there are some basic factors that can help narrow down your search.
The two most common types of launch monitors are radar-based or camera-based and both options can be found from modest to high price points. Both types have strengths and weakness, so there is an element of compromise here. I recommend really evaluating your setup and then looking at what you want out of your launch monitor. For example, certain options may be better for simulator rounds and others may offer enhanced practice modes.
Radar units like Trackman, Mevo+, and the Garmin Approach R10 offer varying levels of accuracy for both ball and club data and span price points ranging from $500 to $20,000. They are especially accurate outdoors, as they can track the flight of the golf ball far downrange and provide an immense amount of data. Indoors, they rely on a very short window of time to calculate things like distance, spin, and direction. There are products that enhance their accuracy indoors like Titleist RCT golf balls, but setup is absolutely crucial here. To produce accurate results, there should be at least 8 feet of distance between the golf ball and the screen or mat and another 8 feet backwards between the ball and the radar unit. I recommend figuring an extra couple feet of distance beyond that, as having a net right against the wall is going to cause some issues. It’s important to note that 8 feet between the ball and the net can be a little unnerving if you are prone to sky-balls with the driver or like to practice quick-launching wedge shots.
Photo-based launch monitors like the SkyTrak, Foresight GC series, and Uneekor range from $2,000 to over $15,0000. They use still-images of the golf ball in different stages of flight to calculate distance and can be extremely accurate. One great selling point for using units like these indoors is that they require very little space since they sit next to the golf ball. This makes photo-based units almost the only reasonable option for small areas. They aren’t as well-suited for outdoor use since the cameras can be impacted by the glare of the sun and balls sitting on the grass may not register properly with certain units.
Taking all these factors and my budget into consideration, Ricky recommended the Garmin Approach R10. At an almost impossibly low price, this unit offers surprisingly accurate ball and club data, especially now that a recent software update supports the use of Titleist RCT balls. Again, it’s very important to pay attention to the manufacturer’s setup requirements to ensure the unit produces the most accurate results. If you’re even a little bit unsure if your area will work, I suggest researching a device that best suits your needs.
Though a screen and projector are a possibility in the future due to the add-on features of the SIGPRO Golf Net, I’ll be using an iPad for a display with the Approach R10 and will discuss the various software options available in the future.
What Does Your Ideal Setup Look Like?
The truth is most garages are ugly. While my indoor golf setup may not be the most photogenic, it’s safe, durable, and features technology that provides amazingly accurate and useful information as I embark on a winter of swing work.
Do you have an indoor golf setup at home or are you considering building one? Join the #GarageSimCrew and share you experiences, thoughts, and wish-list with us on the THP forums.
The post Outfitting a Winter Rebuild – The Indoor Golf Setup appeared first on The Hackers Paradise.

