

REVIEW – We recently moved from a two story home with a game room to a single story home with no game room but the same amount of space. I rarely went upstairs unless we were hosting a party and using the game room. Now that we are on a single story, we have a ton of room and it all seems to need cleaning at once. I easily get my recommended steps per day searching for where I put my phone down. That being said, trying to vacuum all of that space is extremely time consuming. I had reviewed a robot vacuum several years ago when they first came out and was not impressed. With the space this new house has and the improved technology, I was the first to jump at a chance to review the new Dreame Bot Z10 Pro Auto-Empty vacuum. Let’s see how it worked out for me and if it is something I will be using going forward.
What is it?
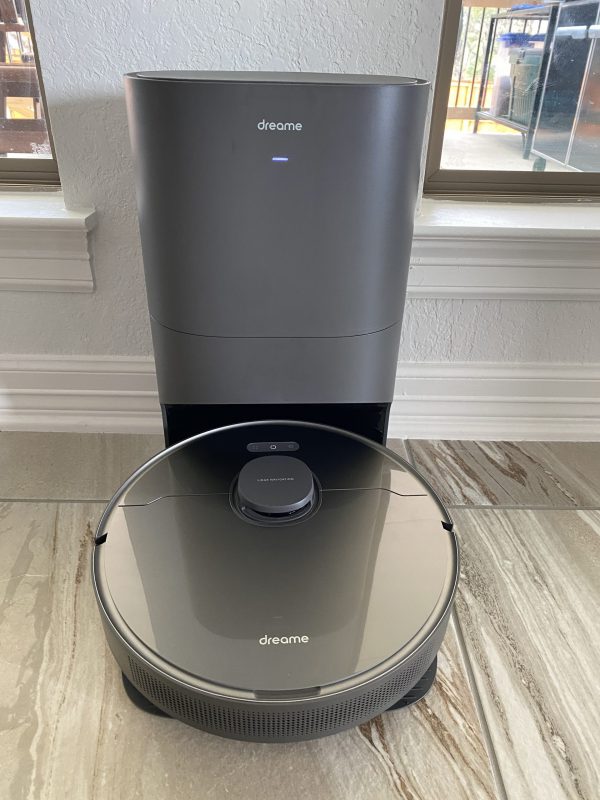
The Dreame Bot Z10 Auto-Empty robot vacuum (let’s call it the Z10 from here on out) is an advanced robot vacuum with Lidar for its ‘radar’ and self empties into a large canister that can hold up to four liters of dust/hair.
What’s in the box?
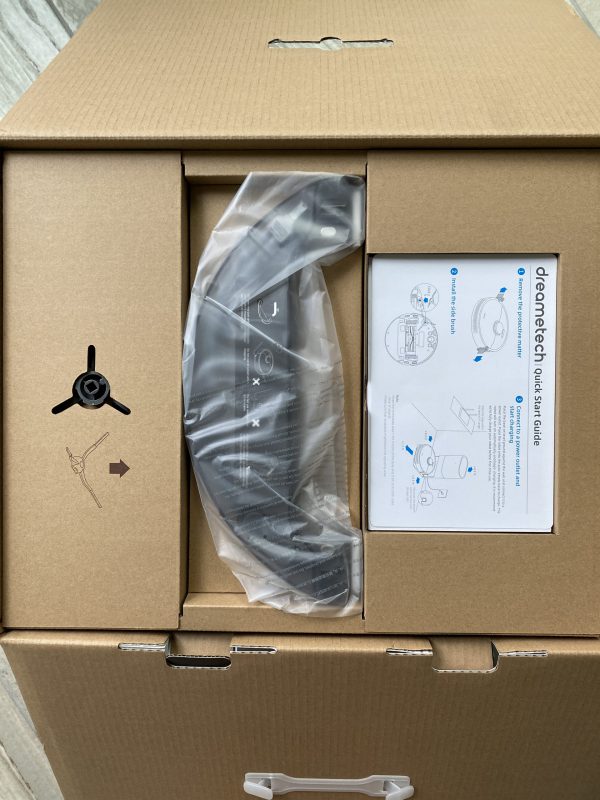
I wanted to make sure I posted pictures of how well this vacuum and canister were packaged. They did come all the way from China and had no damage. At the very top of the box, I found the attachment for the mop.
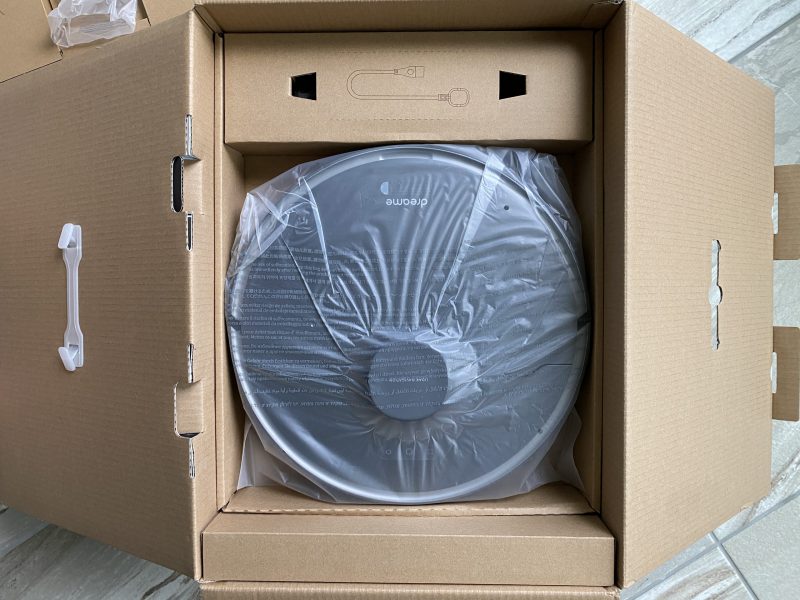
Removing one layer of thick cardboard revealed the robot vacuum. It was wrapped in plastic with its power cord tucked into a box on the side.
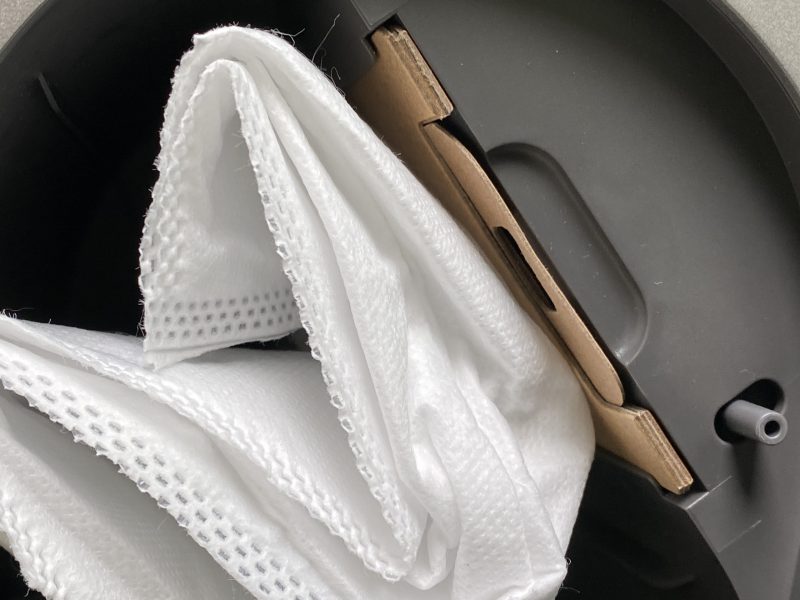
Removing the next layer of cardboard revealed the dust canister. It was held securely in place by a piece of cardboard inserted where the robot would go.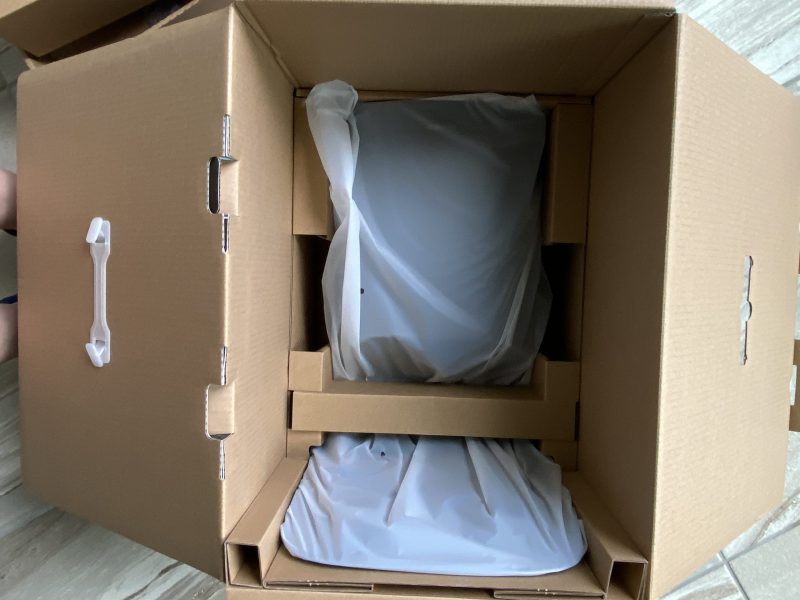
Next I have a couple of pictures showing the contents of the box.
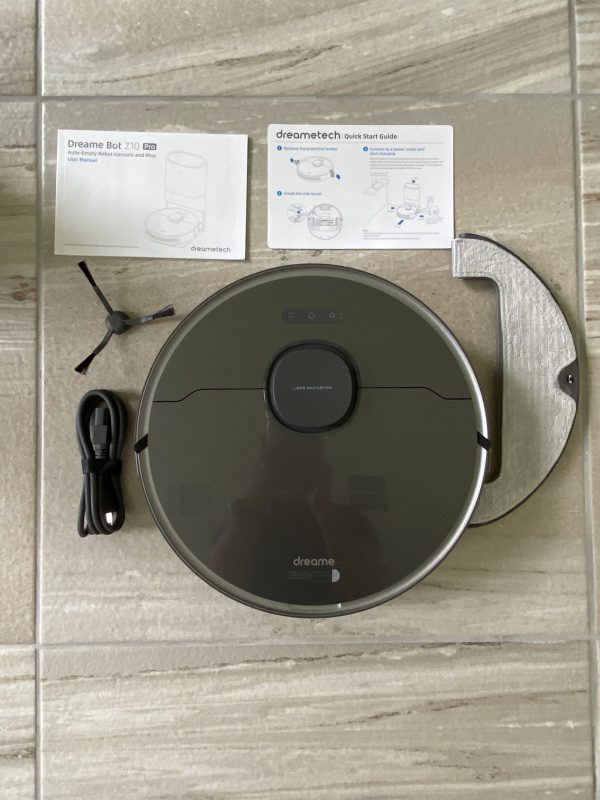
- Instruction Book
- Quick Start Guide
- One side sweep brush
- power cord
- vacuum
- mop attachment
- self-emptying canister – it had two vacuum bags inside.
Hardware specs
Dimensions: 353 x 350 x 96.8mm or 13.89 x 13.78 x 3.81 inches
- Rated power: 46W
- Suction power: 4000 Pa
- Battery Capacity : 5,200mAh
- Robot dustbin capacity: 400ml
- Water tank capacity: 150ml
- Battery life: 150 min
- Lidar scanner
- 3D obstacle avoidance sensors
- The self-empty base station:
- Rated Power: 800W
- Dust bag duration: 65 days
- Dust bag capacity: 4L
Design and features/Setup
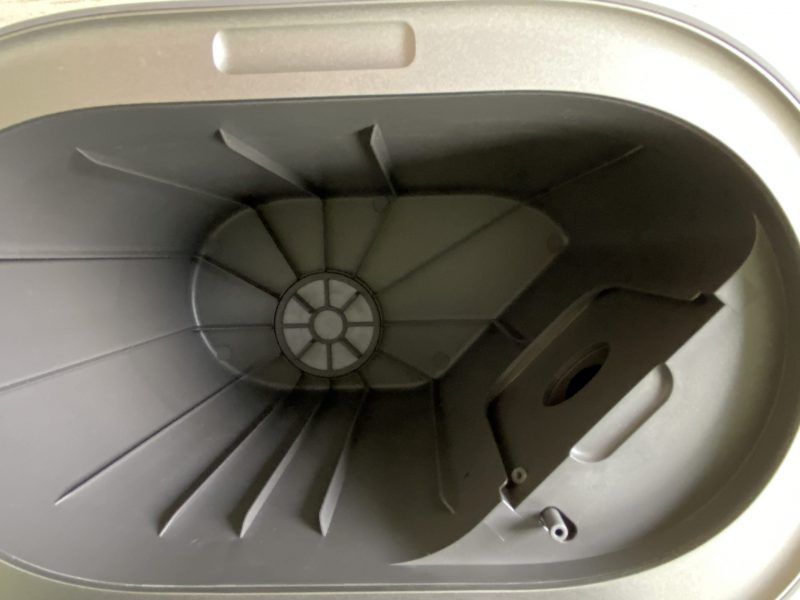
The first thing I did was to open up the dust canister. It is large and can hold up to 4 liters of dust. In the picture below you can see the hole on the bottom right of the picture where the dust gets blown in. That is also where the dust bag is slid into place.
Here is a picture of one of the two dust bags I was provided. It is a sturdy bag that is designed not to let dust get out. As you pull the bag out of the slot, the tab on top pulls out first and blocks the hole in the bag keeping the dust inside the bag.
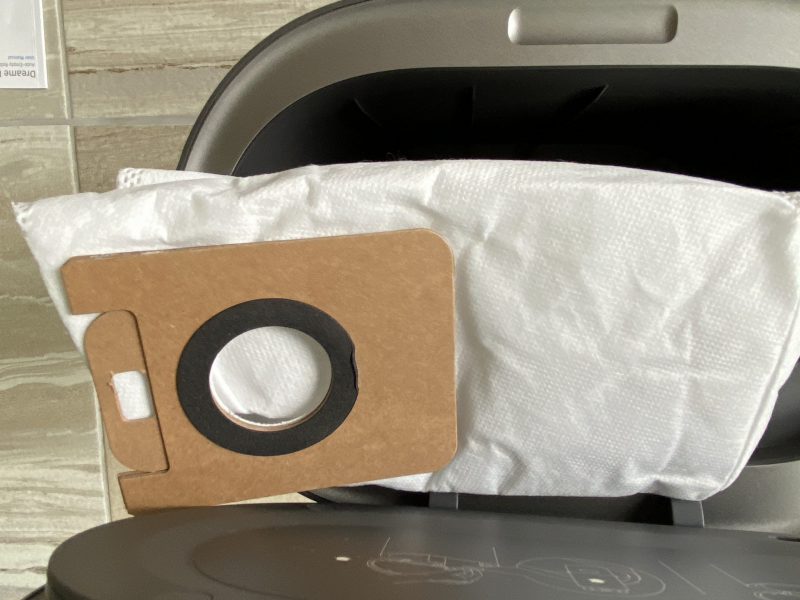
Here is a picture of the bag inserted and ready to fill.
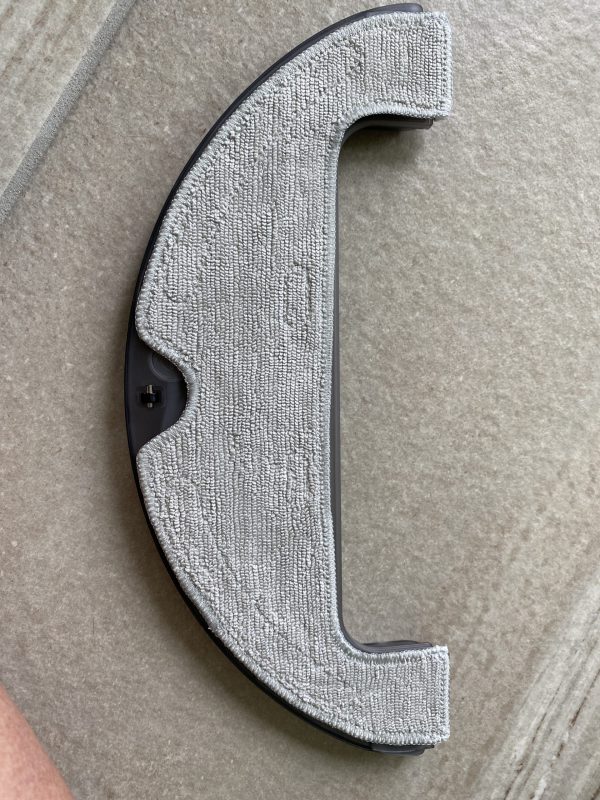
This is a picture of the mop attachment. The pad attaches to the base of the water canister via velcro tabs. I never used the mopping feature. I own a mopping robot that will scrub the mop head back and forth rather than drag it along like most robot vacuum mop robots.
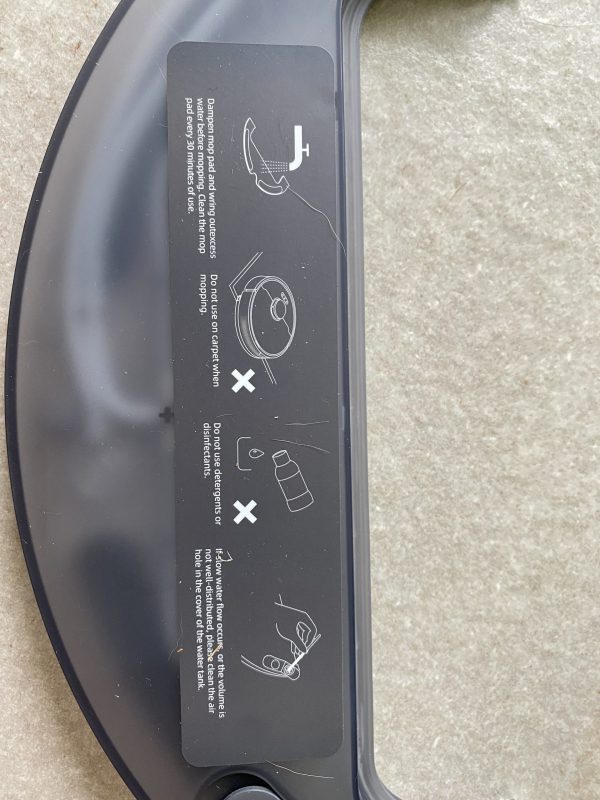
This is a picture of the top of the mop attachment. Basically you fill it with water. You should not use any other chemicals with it.
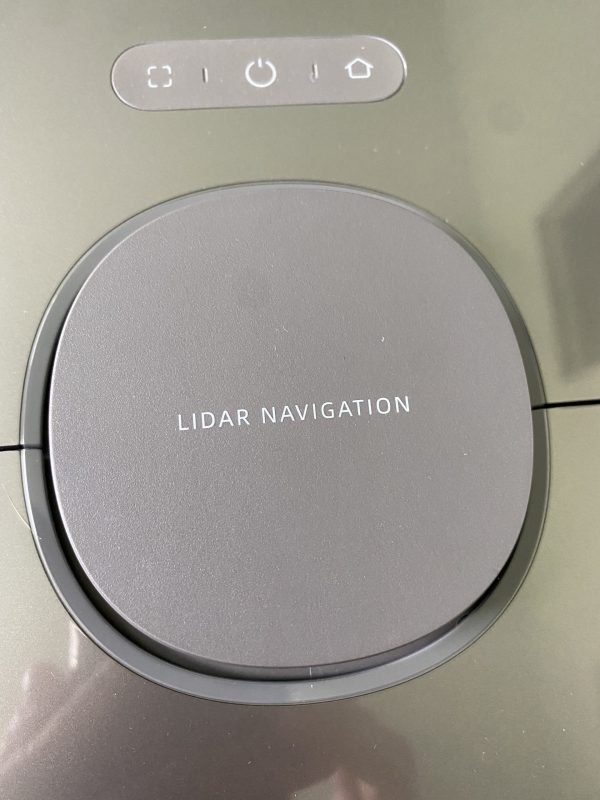
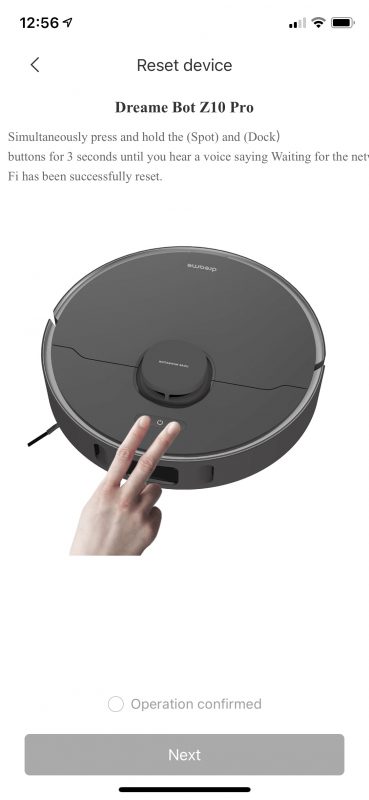
This picture shows a closeup of the buttons on top of the vacuum and the Lidar system. The middle button is the power button and the right button if pressed will force the vacuum to return to the home base. Pressing the left and home buttons will force the wifi to reset.
Next, I have a picture of the back of the vacuum. It has nice sturdy rubber wheels which allow it to grip and roll over some pretty extreme obstacles. The two holes in front allow one side for air to blow in and the other to blow out the dirt from the vacuum into the canister. Below those two holes are the roller brush. On either side of the two holes there are slots where the mop attachment goes. When the mop is attached the Z10 says ‘Mop attached’. When removing it, it says ‘Mop detached’.
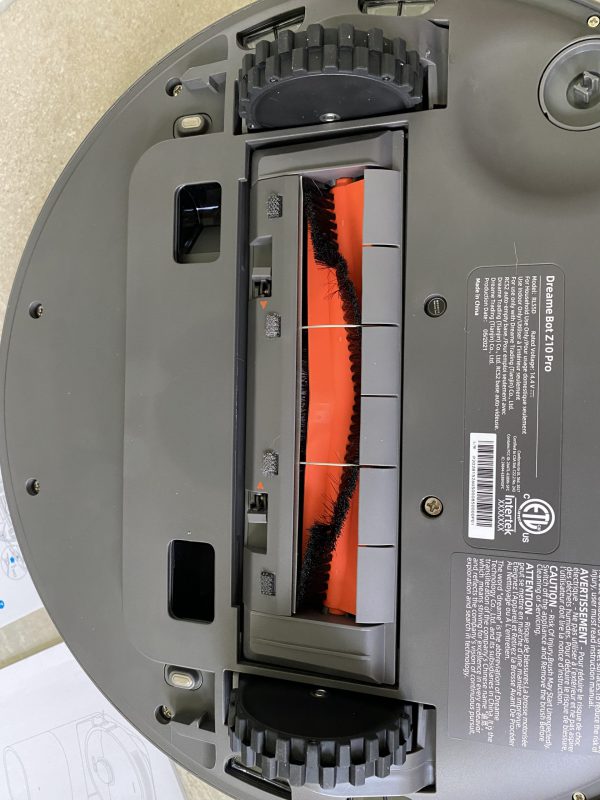
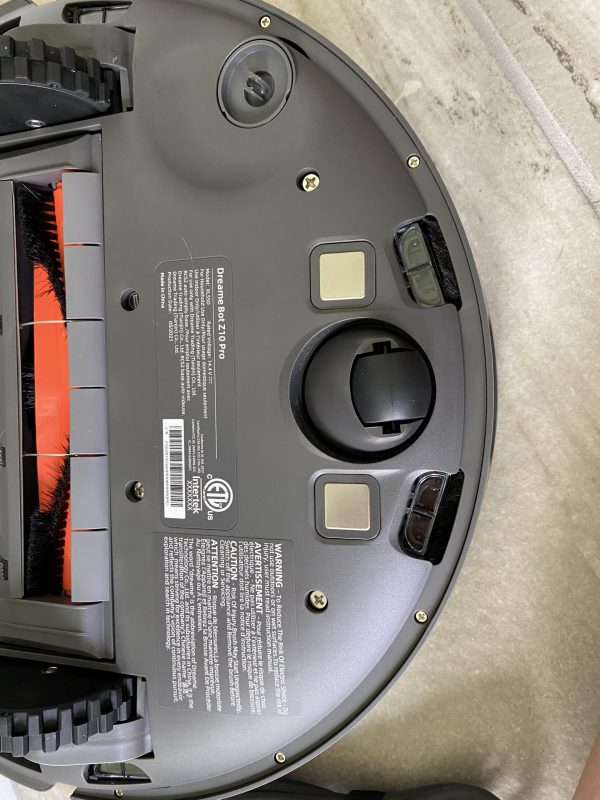
Below the roller brush, you will find the place to attach the single sweeper brush, the middle wheel and the two charging plates.
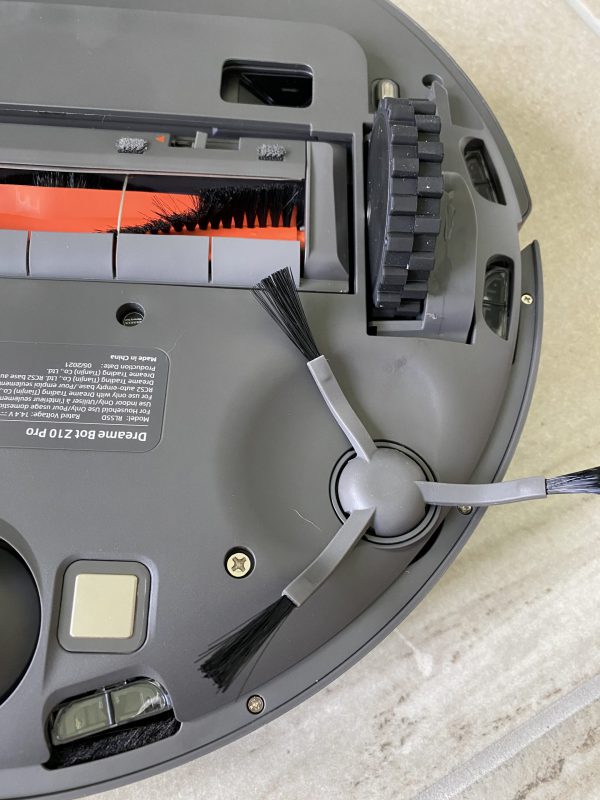
I snapped in place the sweeper brush and took a picture. It was very easy to do.
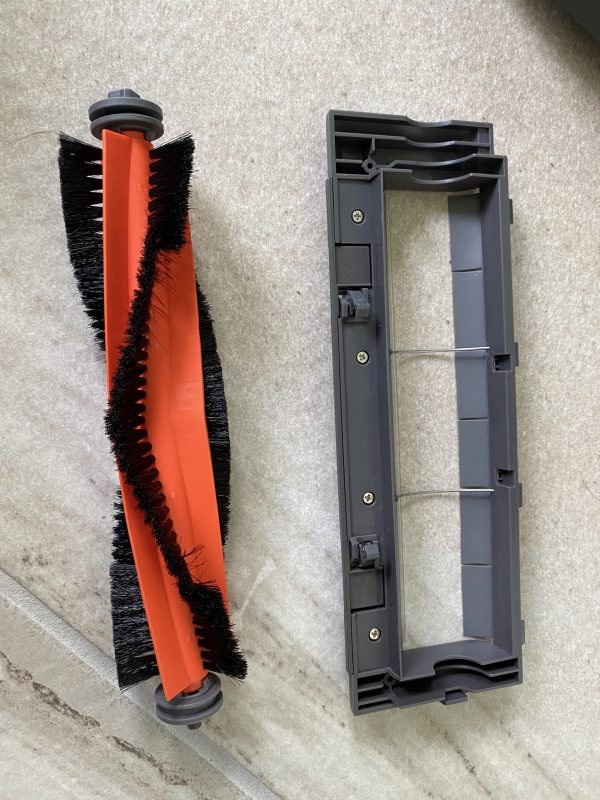
You can easily remove the roller brush by pressing in the two clips marked with red arrows on the above pictures. This will let you clean out long hair and other items that might get tangled. Fortunately for me, no one, not even my dog has long hair.
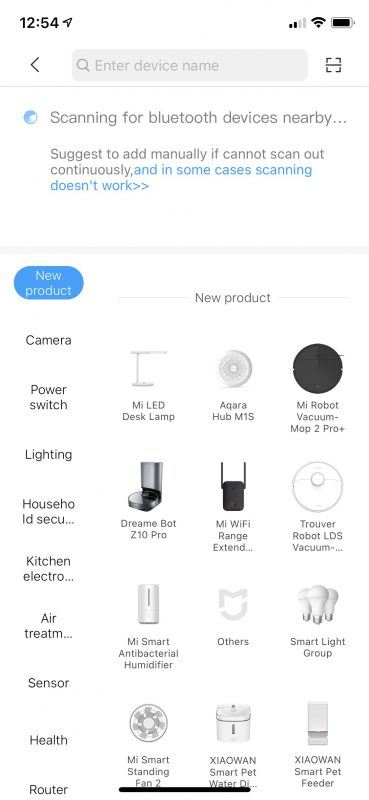
I plugged in the home base, inserted the dust bag and got the Z10 charging. There is a light on the front of the home base canister that blinks on and off when it is charging. The Z10 lets you know you have it mounted properly to charge by announcing ‘Charging’. When the light was no longer blinking and steady I proceeded to hook it up the Mi Home app on my iPhone 11 Pro. The first thing the app asks is for you to create an account. They have a ton of devices. After creating an account I selected ‘Add a device’ and selected the Z10 Pro below.
This next screen popped up asking me to press the square and the home button to get the Wifi on the Z10 to reset.
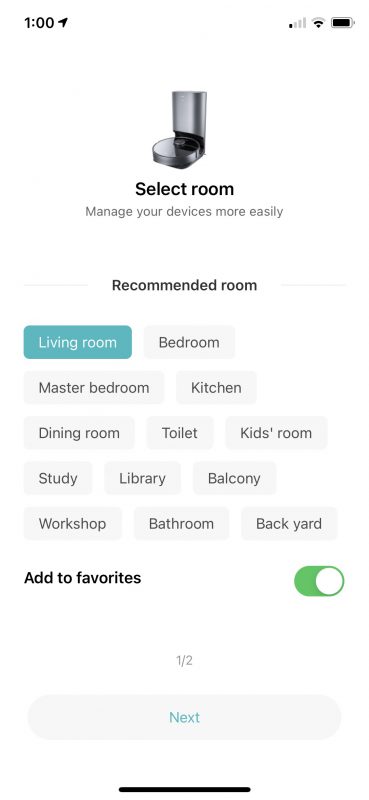
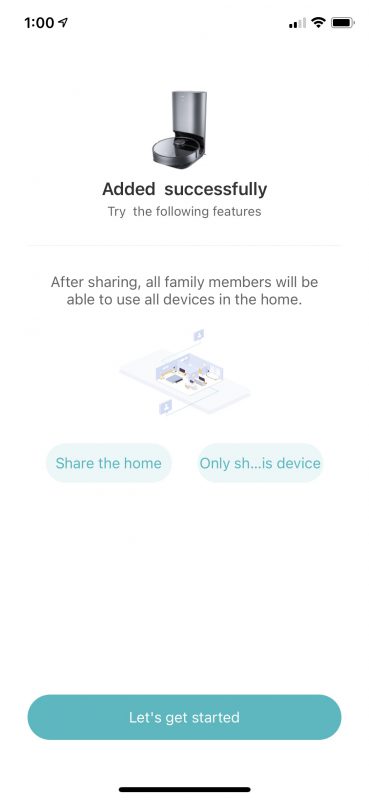
After connecting my phone to the Z10, I added it to my WiFi. I was then given the opportunity to say what room the Z10 would reside. This helps you to know which vacuum you are controlling if you own multiple.
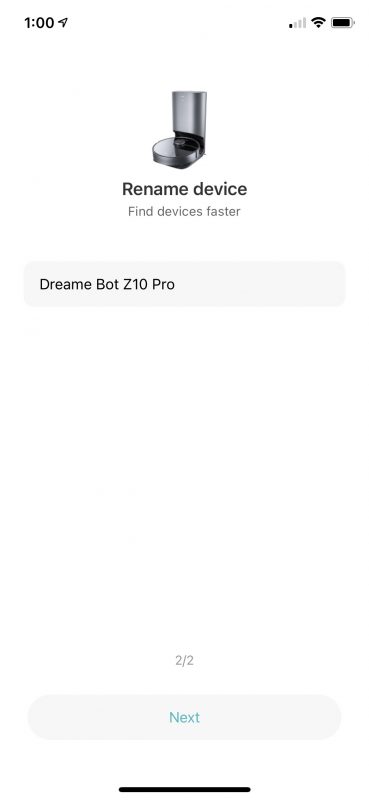
I was also given the opportunity to rename the Z10. I left it as it came.
There is also a sharing feature available that I did not use.
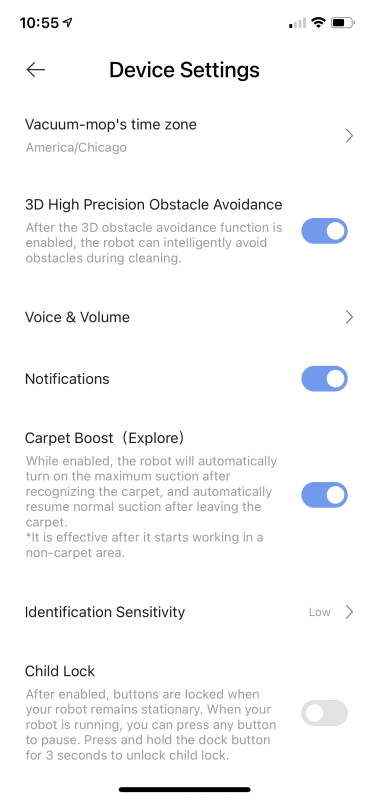
Next, I have some screenshots of the various settings. The time zone was set once connected to my WiFi. I left everything as standard, except I did turn on the carpet boost feature. This makes the Z10 the loudest it can get, but it also allows it to pick up a ton of stuff out of the carpet. On hard floors, the Z10 backs off the suction and is a relatively quiet vacuum. It is certainly quieter than my Dyson V10.
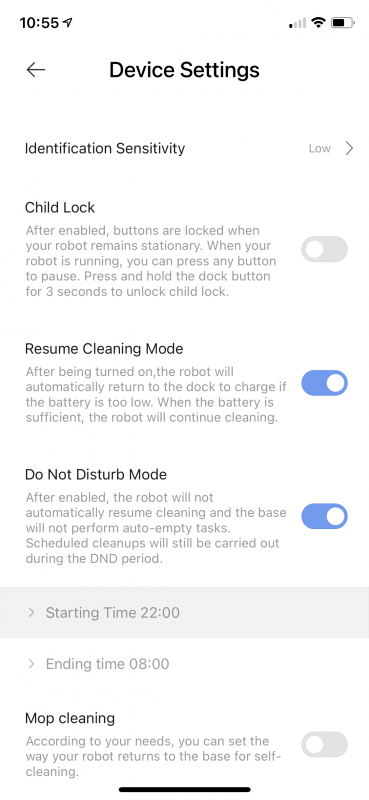
I did also set a do not disturb time period. Our house is large enough that it cannot clean all of the rooms in a single session. The Z10 will run for just over 120 minutes. It will then return to the charging base and recharge. Then if it is outside the do not disturb time period, it will go back and finish what it had not cleaned. I found it interesting that it did not go back to where it left off. It may hit some other room it had yet to clean, but it did eventually go back and get every room.
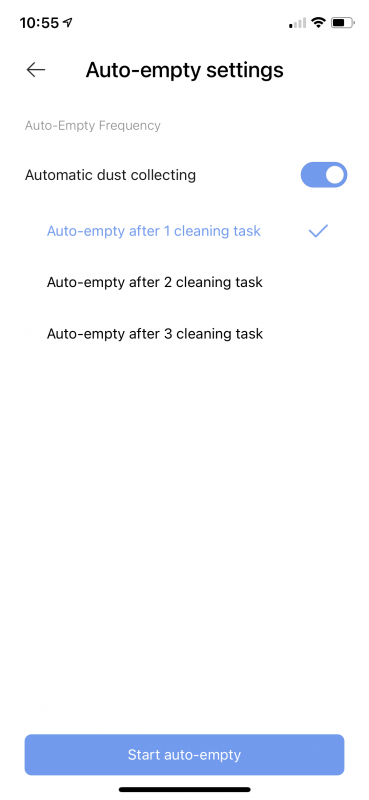
There are several auto-empty settings. Due to our having a mighty shedding puppy from heck (yes, pictures are below) I chose to have it empty after every session. Note, that if it has to go back and recharge in the middle of the session, it will still wait till it has completely vacuumed all of the rooms before attempting to empty. The emptying function has to be the loudest sound the Z10 makes. I would say that is along the sound level of my Dyson at a mid to high level.
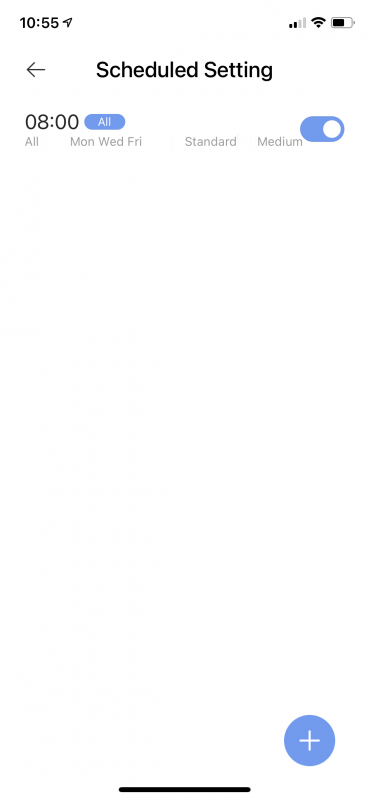
I work from home so I schedule the Z10 to run every M, W, F at 8am. Even if I tell it to vacuum all rooms, if I need to close my office door due to a meeting it will skip my room for that particular session.
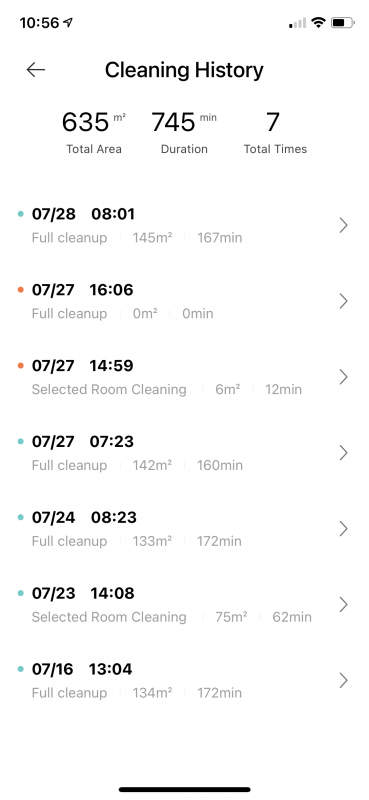
It also keeps a rolling history of all of its cleaning events. You will notice the last full cleanup was shorter than the rest of the full cleanups. That is because I chose to have a few of the rooms shut off for various reasons.
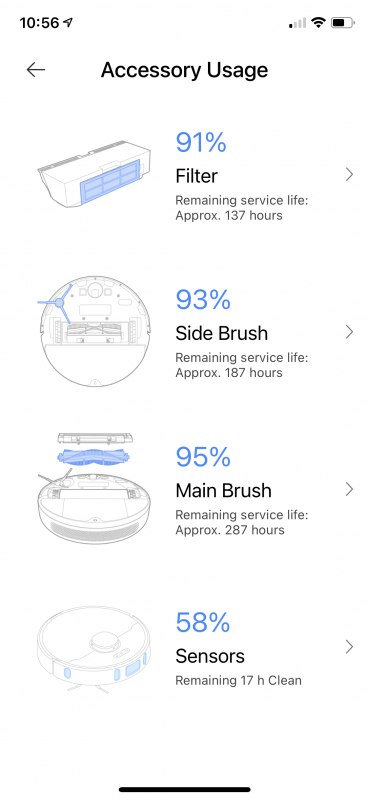
There is also this nice feature showing you the status of your Z10 and its accessories. The sensors at the bottom only need cleaning with a soft rag and do not need to be replaced.
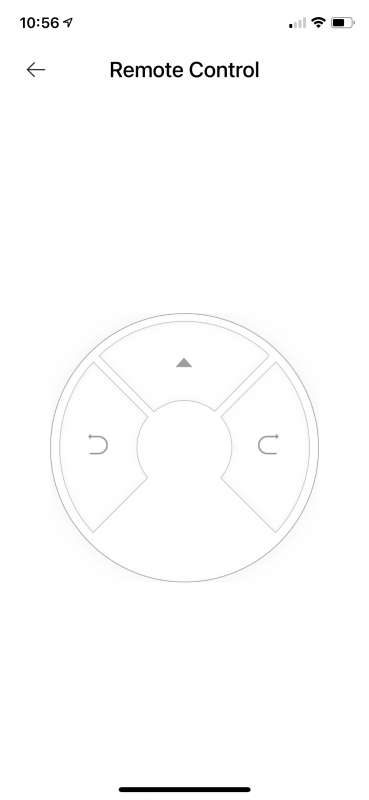
Finally, the Z10 offers a remote control feature. This is just like driving a remote-controlled car. I don’t ever see myself using this feature. By the time I manually move the slow-moving Z10 to where I need it, I could have whipped my Dyson out and had it done.
Performance
I am pretty happy with the Z10’s performance. Yes, there were times when the Z10 got stuck and I will explain below. However, the Z10 did a great job of trying to cover the full area of my house. There were a few glitches where it seemed to skip some floor area, but that was mostly due to the large area rugs we have in place.
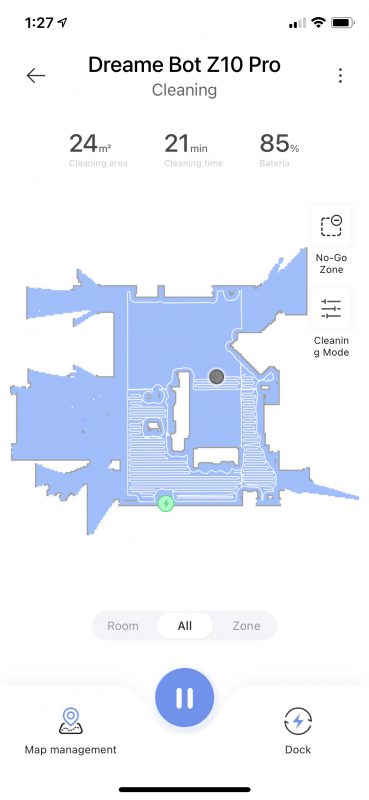
The picture below shows what the Z10 saw of my house during its first 21 minutes of cleaning. I have the Z10 stationed against the back wall of my living room. This is a large room with furniture that opens directly to a full eight person dining room and two island kitchen. Let’s just say I hate having to manually vacuum this room myself.
You can see the long couch and the smaller loveseat making an L shape in the room. I found it strange that the Z10 left the big open space in front of them alone. It eventually came back and cleaned the area, but it sure looked strange for a while. As it rolled along, the Z10 tries to map out what it sees in other areas.
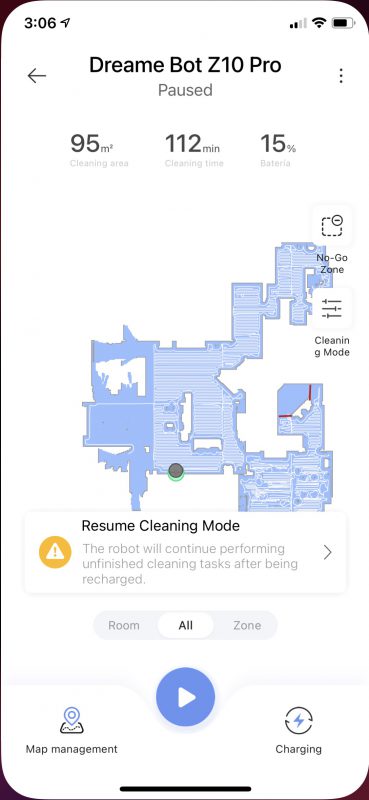
This is a picture of how far the Z10 got before it had to go back to the home base to charge. It did not take the full 120 minutes because it got stuck in our master bathroom. I made the mistake of leaving a couple of fuzzy rugs we use right outside the open walk-in shower. The Z10 got on the rug, but missed the one-inch ledge right after it and got hung up. It sat there for about 10 minutes until I happened to notice I had a notification from the Mi Home app that the Z10 was stuck. It uses up a lot of battery if it gets stuck.
In the picture below, I ended up drawing virtual walls (red lines) indicating that the Z10 should not go in that shower area. The room below the master bathroom is our master bedroom. It has a large circular area rug on the left part of the room. That causes the Z10 to do a few loopy things.
This is the final map the Z10 had after completing our house. I did not have all of the rooms open yet at that time. We had storage boxes in one room and I will never have it clean the gym due to the layers of mats in the area.
Look closely at the area above room E. That is our dining room.
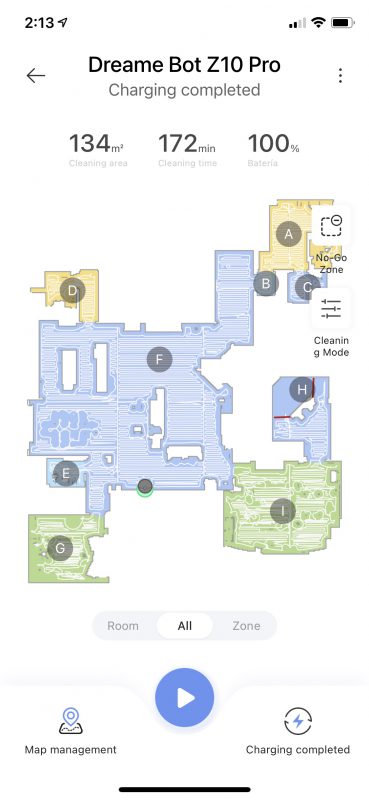
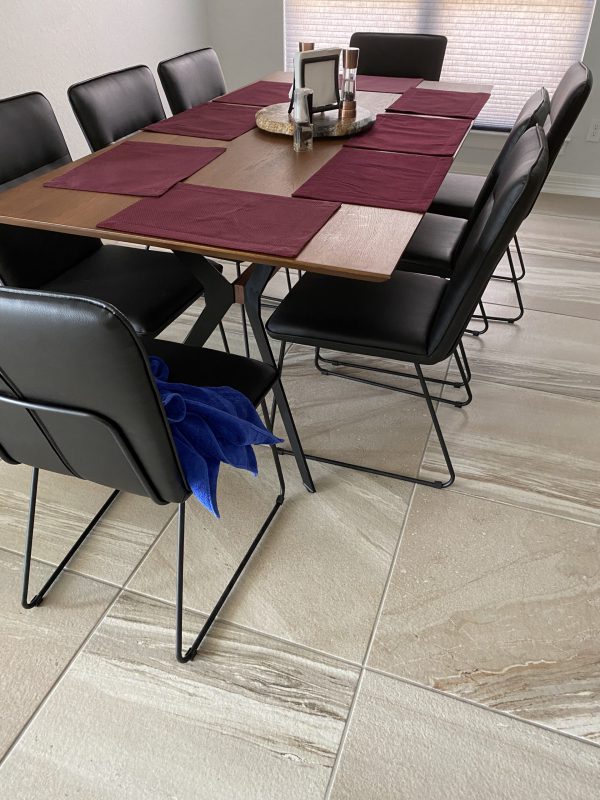
Here is a picture of our dining room. I am amazed that with all of the trouble the Z10 had with rugs, it had no issue rolling over those chair legs. It acted like an army tank and never got stuck once. I ended up marking that as a no-go zone in my final map because I was afraid it would get stuck one day.
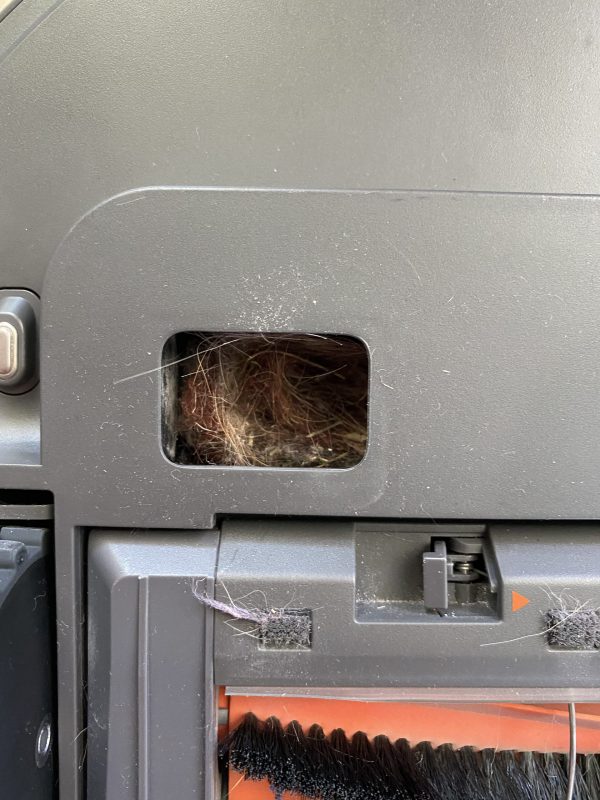
I hate to admit this, but when I kicked off the Z10, we had been in the house for about a week and a half. I had vacuumed manually, but I knew there was a lot of dust and dog hair accumulation. When the Z10 finished its first clean, I heard the self-empty sound kick in. However, when I checked under the vacuum, I could see the wad of dog fur that was still in the Z10.
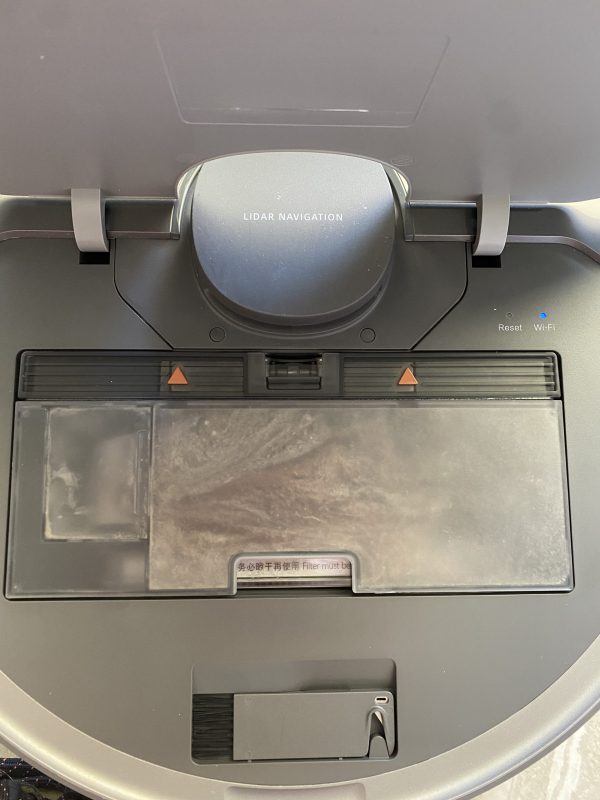
Lifting the cover to access the filter area, I could see the container was virtually stuffed!
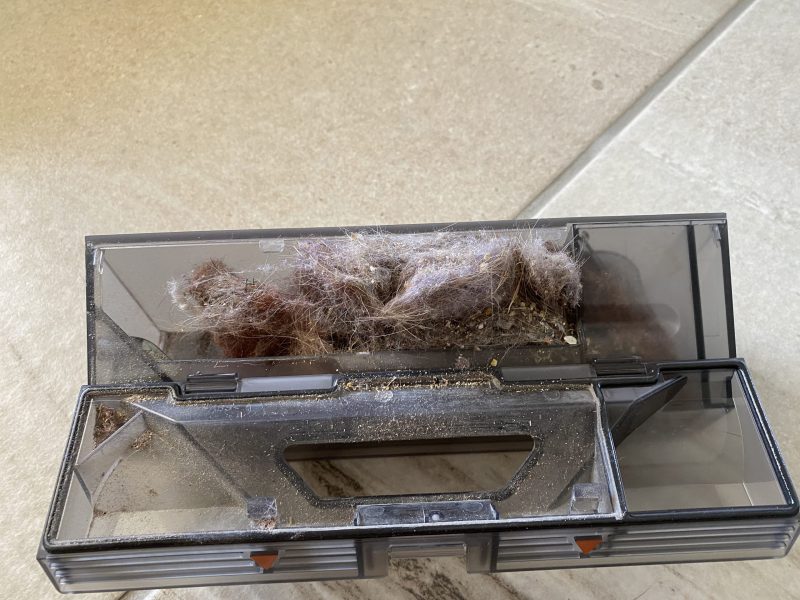
For your viewing pleasure, enjoy the wad of dog fur, carpet residue, and dust accumulation! I don’t blame the Z10 for not being able to get rid of such a big wad of debris. After that initial clean, I scheduled the Z10 to run every M, W, and F. Since then it has always emptied successfully.
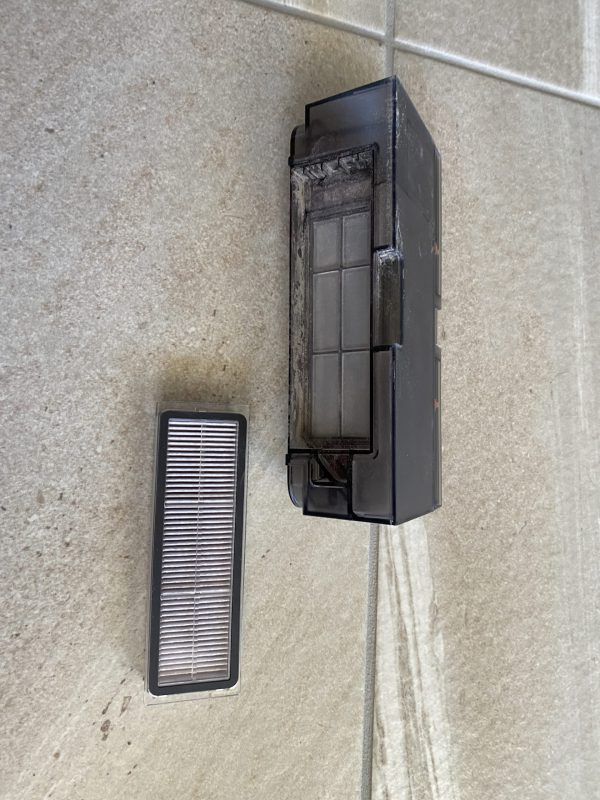
As you can see, the filter itself comes out of the vacuum canister. It can be hand rinsed.
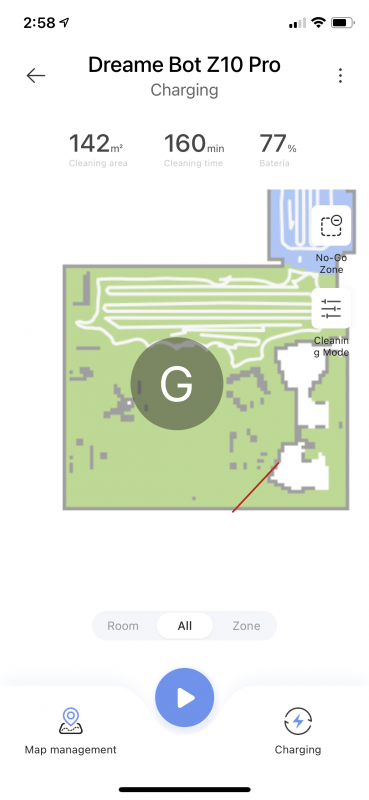
There were a few times the Z10 got stuck. This is the map of my husband’s office. His office is carpet, but he also has a thick area rug on top of it. The rug is right about where the G is in the picture. I ended up drawing another virtual wall for this room.
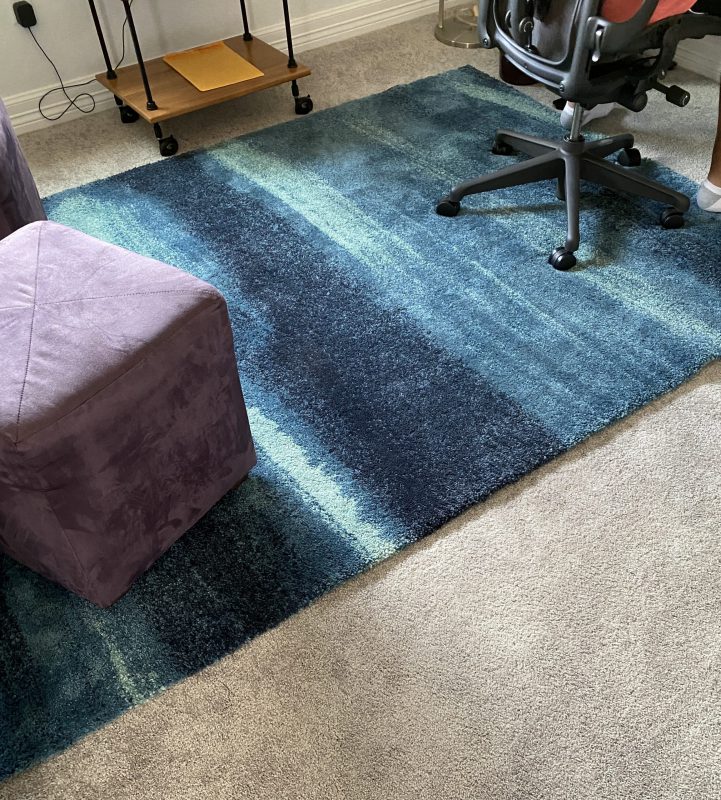
Here is a picture of the rug in my husband’s office. You can see it is pretty thick.
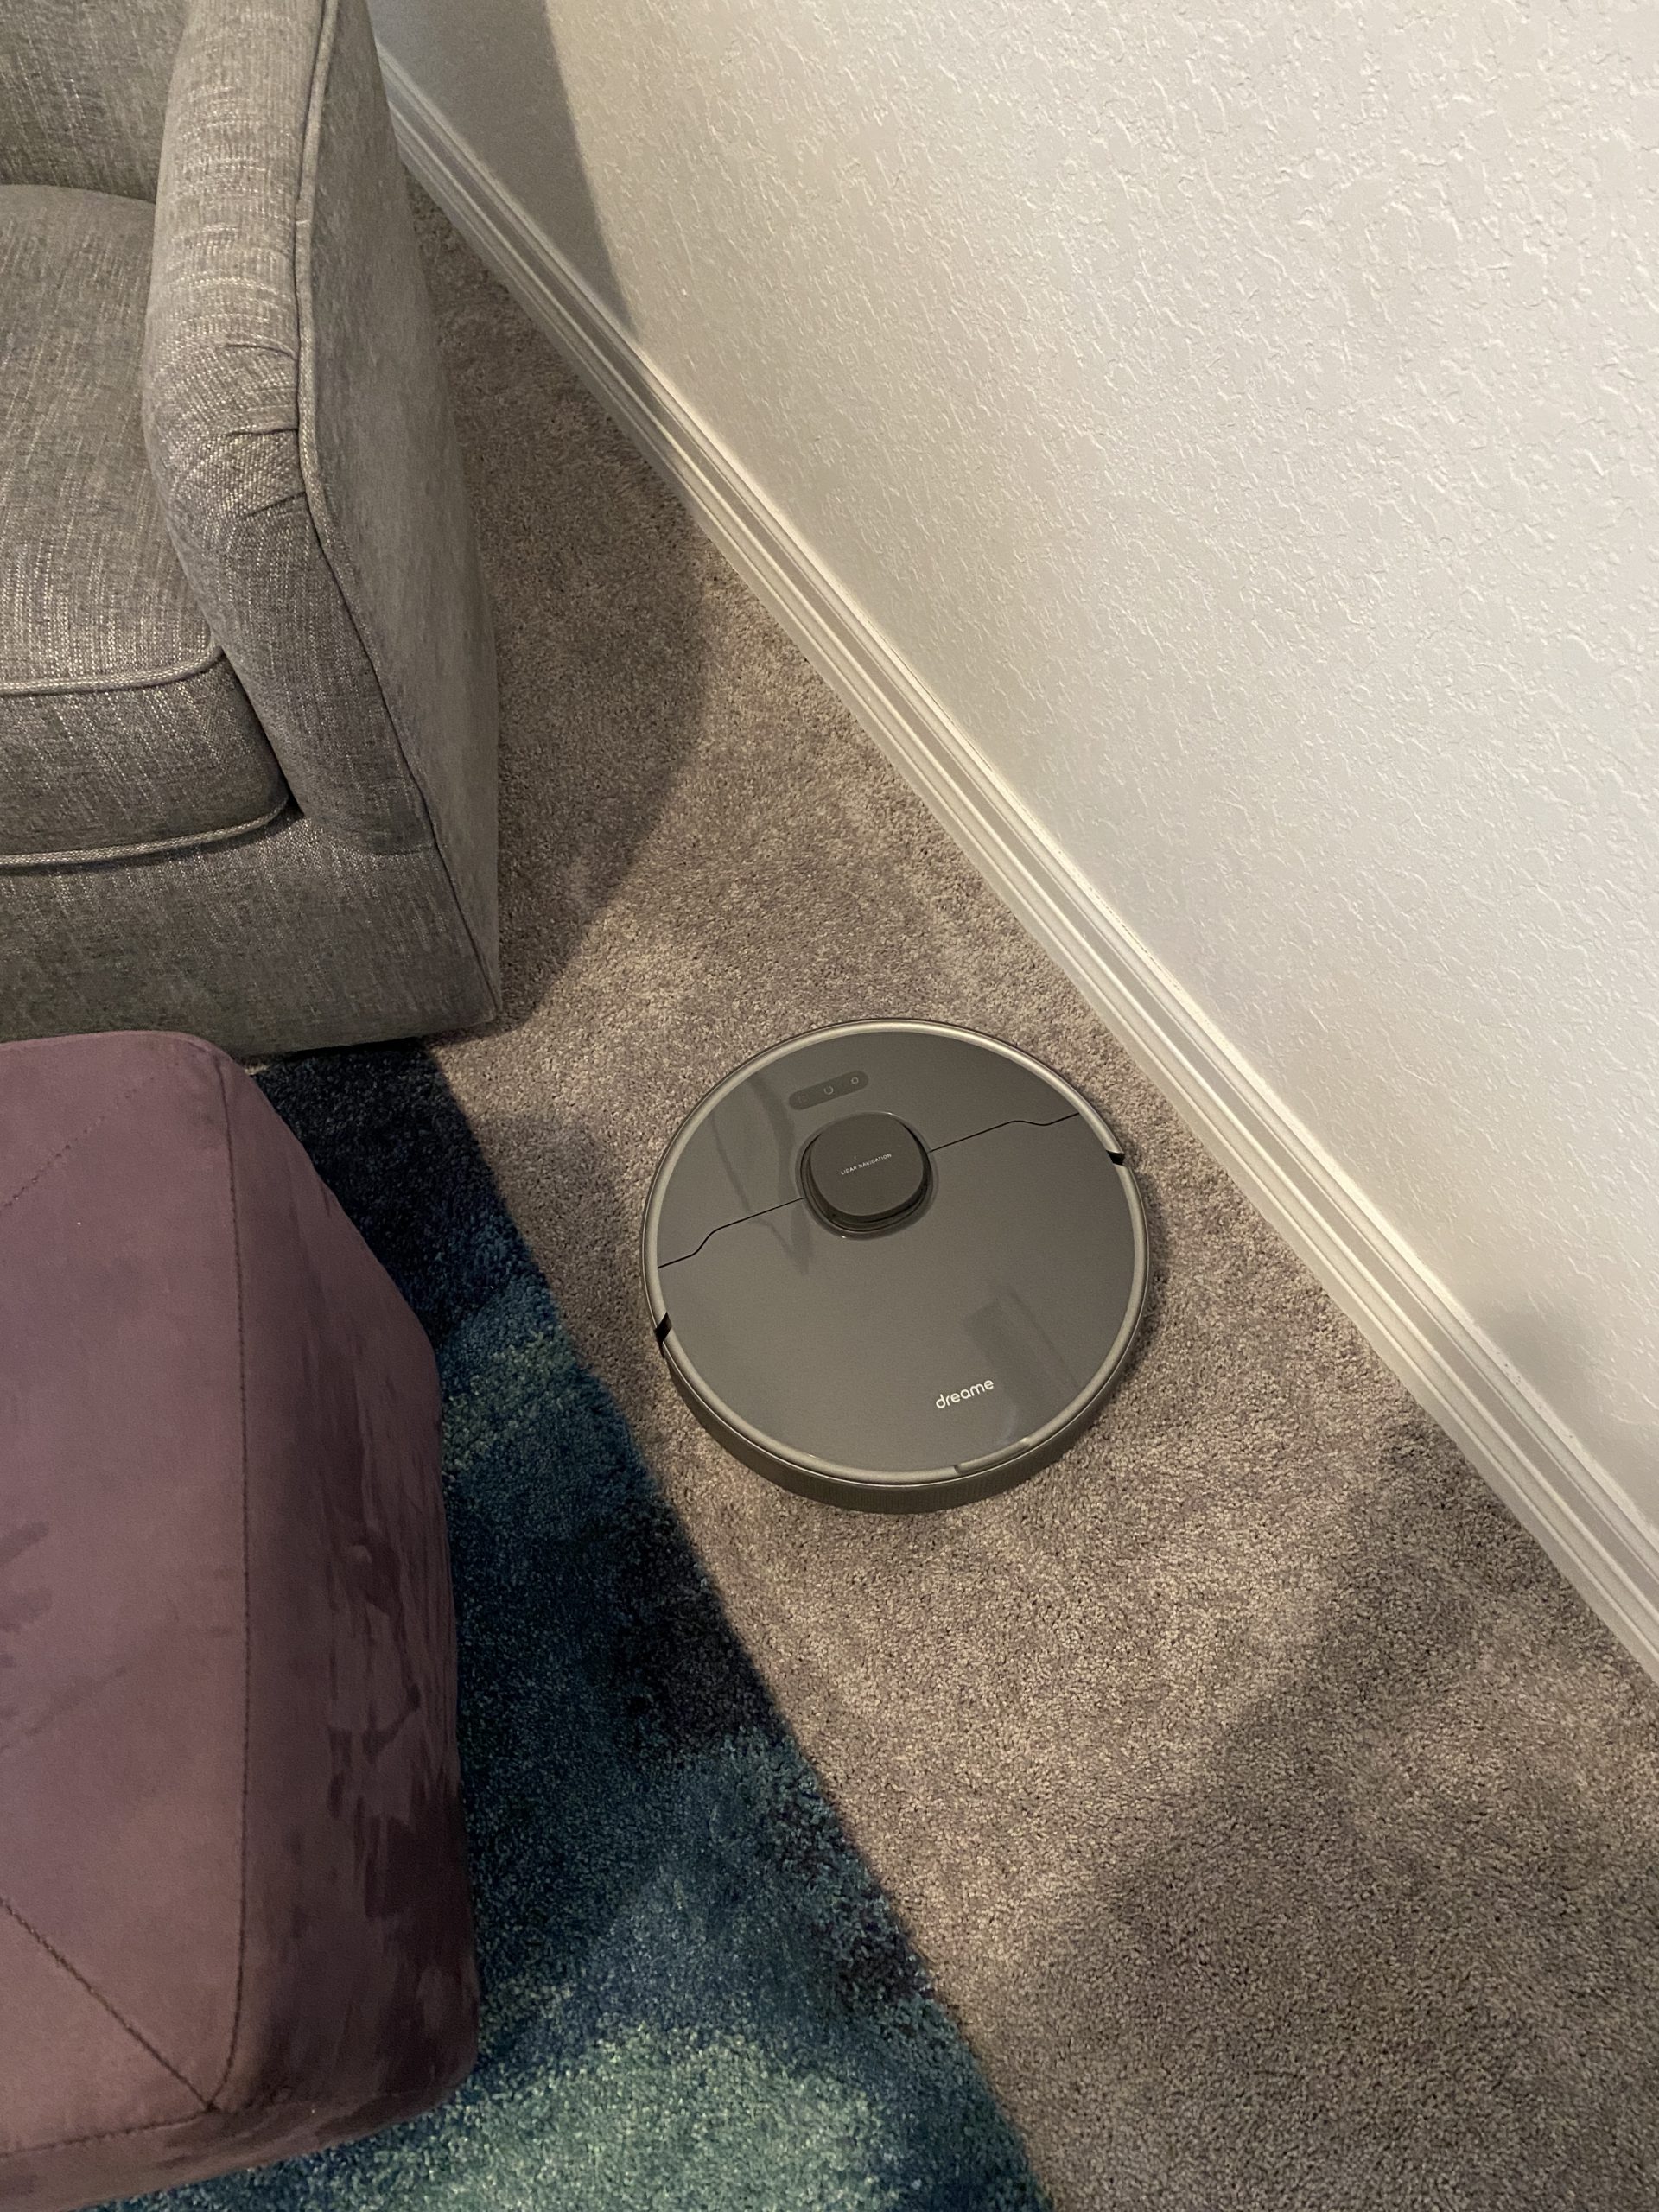
Here is where the robot got stuck. It could get up the rug just fine when it had momentum on its side. When it got in that nitch between an ottoman and the wall, it could not manage to get back up on top of the rug. So I drew a wall from the ottoman to the wall to keep it out of that area.
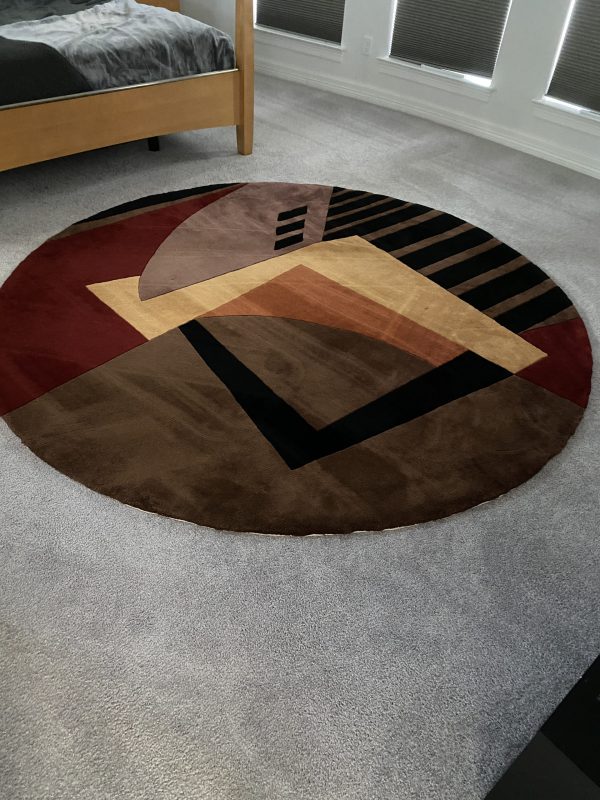
Here is a picture of the rug in our master bedroom. Something about the rug makes the Z10 get a little goofy in its cleaning pattern. You can see some of the random swirls that are not the norm for the Z10. Behind the rug, you can see a very uniform vacuum pattern.
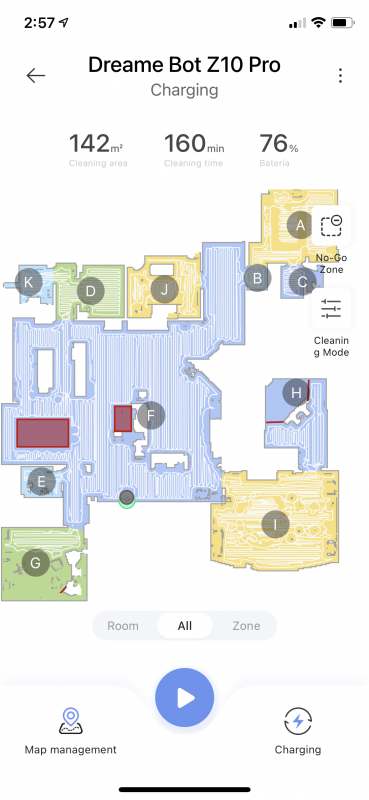
I am happy to say that as I got rooms unpacked and opened doors, the Z10 found them and added them to the map. In the picture below it added rooms D and J. Room A is my office. That room is tile with a thinner Ikea rug in it. You can see that the rug does make the Z10 miss what could be a few sweeps up and down, left and right.
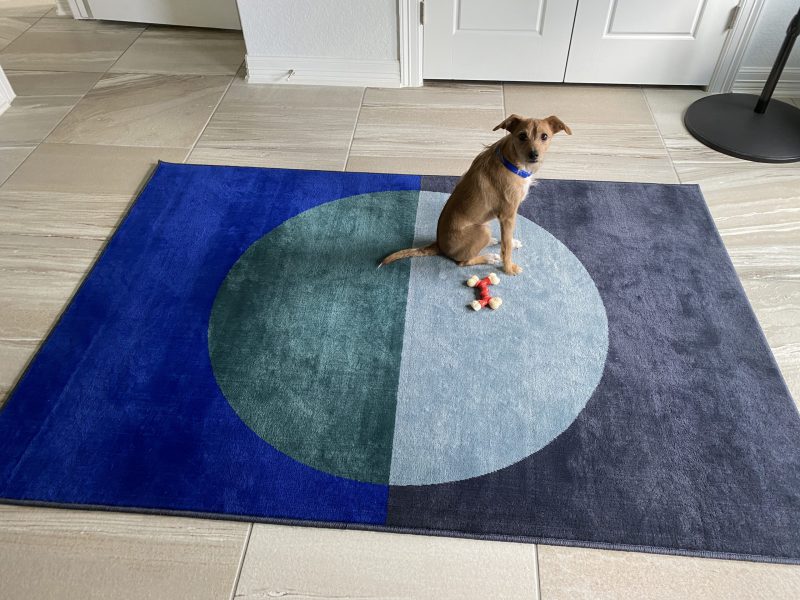
Here is a picture of that rug and my little shedder Peanut. He is looking at me and wondering why I got lazy and am not vacuuming myself anymore!
What I like
- It does not bump into things. It sees them before it hits them.
- Awesome mapping feature. It finds new rooms and leaves existing alone with the close of a door.
- It does a great job of vacuuming.
- The main canister is very large and will hold a lot of debris.
- It does well repositioning itself after getting stuck.
- I love that it goes back, recharges itself, then resumes cleaning.
- I can direct it to clean any room.
- It is much quieter than my previous robot vacuum and my Dyson
- Self-emptying works well as long as you don’t overload the canister.
- Competitively priced compared to IRobot and Shark
- Easy to set up virtual walls or no-go zones.
- It talks to you letting you know when it is going back for a recharge, it is stuck or beginning to clean.
What needs to be improved
- Area rugs do tend to cause it to miss vacuuming some areas.
- When the vacuum is stuck, it tends to still use a lot of battery.
- No idea where to find vacuum bags and filter replacements.
Final thoughts
The Dreame Bot Z10 Pro has been a boon to my life in my new home. Having everything on one floor lets me set the Z10 to task and not worry about vacuuming as much as I used to. I know the spots it does not like to do and I can hit them easily with my cordless Dyson. Keeping a regular schedule lets the self-empty function work as it should. Like any robot vacuum, you have to make sure cords are out of the way or make them no-go zones. It is very easy to set those up in the app. The Z10 has officially become a regular member of the household. Even Peanut gives it a paws up and pretty much ignores it now.
Price: $683.59
Where to buy: AliExpress
Source: The sample of this product was provided by Dreame.
Filed in categories: Reviews
Tagged: Home and Kitchen, Vacuum
Dreame Bot Z10 Pro auto-empty robot vacuum review originally appeared on The Gadgeteer on August 10, 2021 at 10:30 am.
Note: If you are subscribed to this feed through FeedBurner, please switch to our native feed URL http://the-gadgeteer.com/feed/ in order to ensure continuous delivery.